Ham is an American holiday staple, and whether you buy it raw, cured, or spiral-sliced, you are in for a delicious treat. On the larger size of most roasts, a whole ham can be hard to handle! In these two galleries, we’ll walk you through carving a holiday ham, either at the table in front of guests or in the kitchen to transfer to a platter.
These instructions can be used for “fresh” non-cured hams as well as prepared glazed hams. If you are serving a half ham or a spiral-cut ham, you may be able to skip a few steps, but follow our instructions to get as much meat off the bone as possible. No ham goes to waste!
When it comes to the right knife for the job, we choose a classic long slicer knife or chef’s knife for this job. They give you more control versus an electric slicer, and you can use the sharp point of your knife to slice through connective tissue and stay close to the bone. If you don’t have a dedicated slicer for carving roasts, you may consider investing in one (it does not need to be expensive, just sharp!).
To Carve Ham at the Table
- Cut away the end piece of the ham to create a slicing surface, then make parallel cuts from the shank end down the bone. Continue cutting slices of meat from the leg, cutting away from the bone to make even slices. The initial cuts are made vertically, until the bone is reached.
- When the slices become very large, begin to cut the meat at a slight angle, first from the left side, then from the right side, alternating until the leg is entirely sliced.
To Carve Ham in the Kitchen
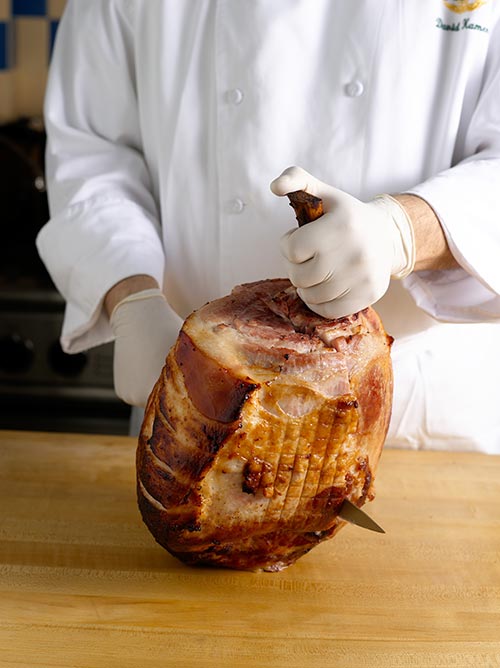
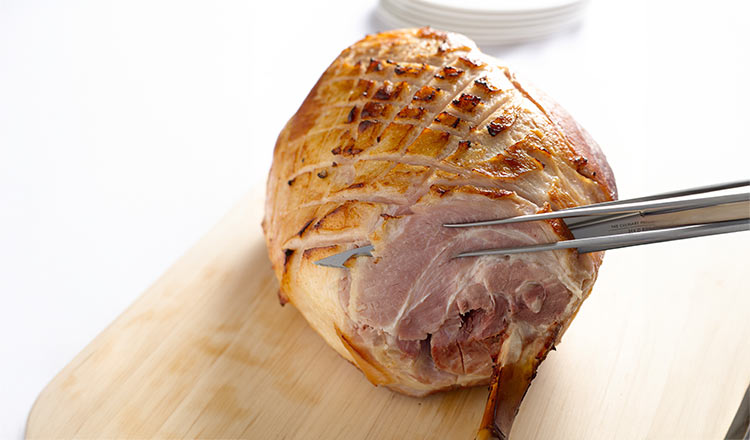
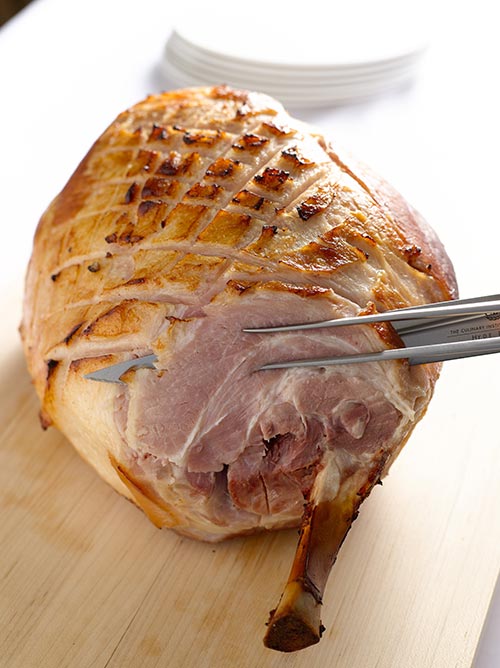
- Stand the ham on end, with the sirloin end resting on the board. Hold the shank end with your guiding hand to keep the ham stable. Make a cut into the lean meat just below the stifle joint on the shank end and follow the natural curve of the femur. Cut close to the bone for the best yield.
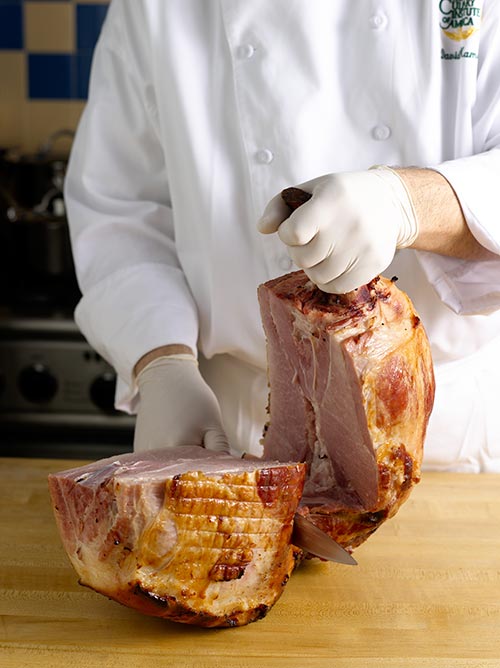
- At the ball-and-socket joint, cut around the joint. This first cut will not completely cut the meat away from the bone. Remove the top piece of meat from the aitch bone.
- Repeat the same sequence of cuts on the second side of the bone to completely free the meat. The meat will appear to have a V-shaped notch with it was cut away from the bone.
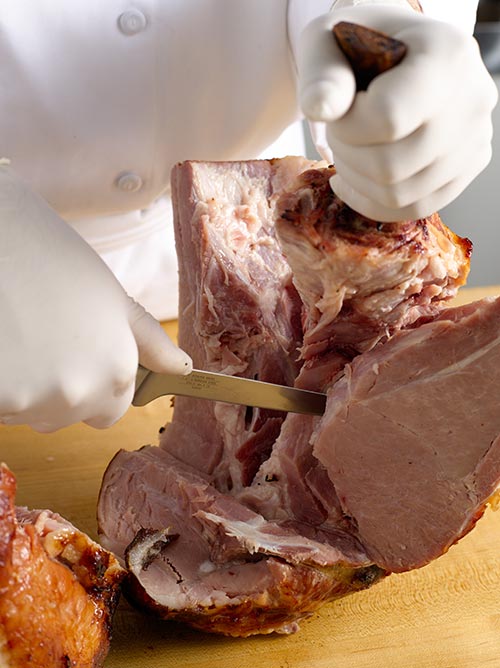
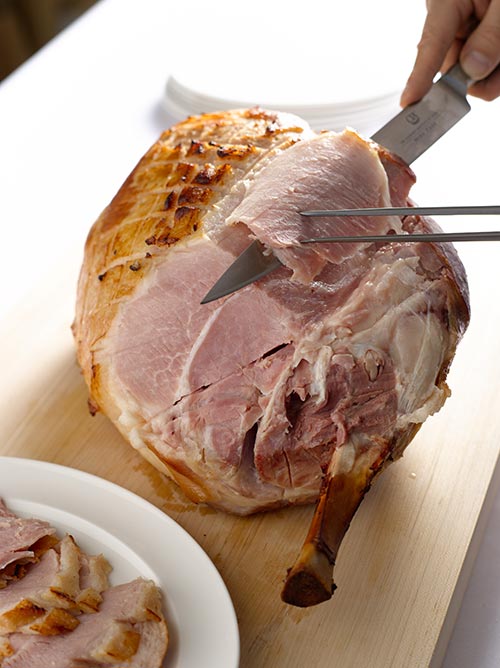
- Cut away the meat from the back side of the femur. Try to keep the pieces of meat as intact as possible.
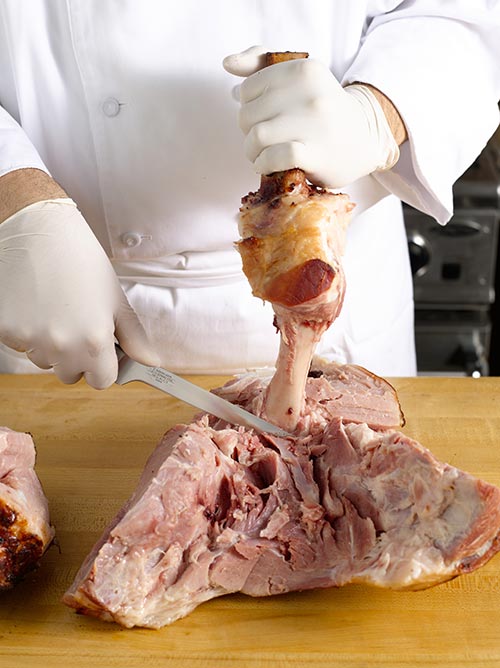
- Cut the larger pieces of ham into manageable pieces that can be sliced into portions.
- Carve the ham into slices with a slicer as shown.