If you're ready to take your cake-skills up a notch, this lesson is for you. With just one extra step called a crumb coat, you can make your homemade cakes look fresh from the bakery.
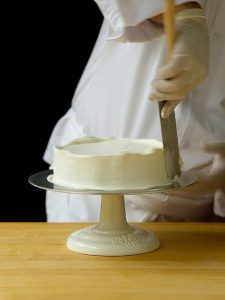
When icing a cake, you may wish to use a turntable. Some pastry chefs prefer to hold the cake (on its cardboard circle) on their fingertips and rotate it as they work. Either approach can yield excellent results, although holding the cake on your fingertips requires more control than using a turntable.
The best and most consistent way to achieve a clean coat of icing is to apply two coats. First apply a thin seal coat, or crumb coat, and allow it to set completely under refrigeration. This coat does not necessarily have to be the same icing as the final coat; it is intended to attach any loose crumbs to the cake and prevent them from becoming incorporated in the final coat.
Choose something that is a complementary flavor; it can be a jam or jelly, a buttercream, or ganache—anything that will seal the cake and ease the application of the final coat. This first coat should be very thin to ensure that there will not be too much icing applied to the cake overall; it may even be thin enough so that the layers of cake are visible through the coating on the side. After the first coat has set, apply the thicker second layer.
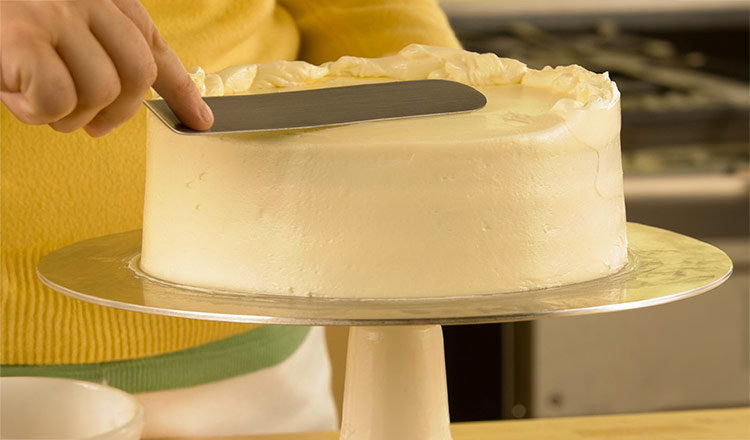
- Apply the icing generously to the top of the cake first, spreading it smoothly and evenly all the way out to the edges of the cake and slightly over them. The final coat of icing on a cake should be applied after a first coating, often referred to as a crumb coat; this first coating seals the cake and, once chilled, facilitates the application of the final icing.
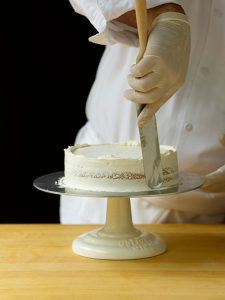
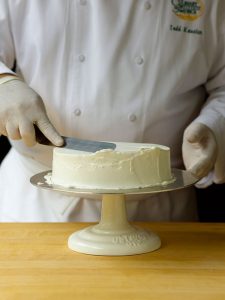
- Ice the sides of the cake: holding the spatula vertically so its tip points to the base of the cake, spread the icing onto the sides. Apply a generous amount of icing to the sides to ease smoothing and ensure a smooth finish. The size of the spatula depends on the size of the cake as well as what feels comfortable to you.
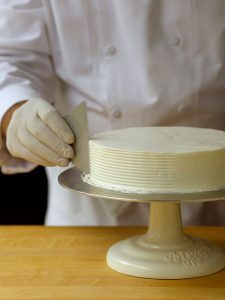
- To smooth the sides of the cake, after applying the icing, hold the spatula vertically against the cake at a 45-degree angle, with the edge of the spatula touching the icing, and rotate the cake (by turning your hand or turning the turntable) against the spatula. (If you are holding the cake on your fingertips, hold the spatula with the handle below the cake; if you are working on a turntable, the tip of the spatula should just touch its surface.) This will not only smooth the icing but will also cause some of the excess icing from the sides to rise above the top of the cake, making a lip or ridge. Working from the edges toward the center and holding the spatula parallel to the top of the cake at a 45-degree angle, with its edge touching the surface, smooth the lip over and across the top to create a perfectly smooth top and a sharp angled edge.
- At this point, the cake can be marked into portions if desired, using a straight-edged knife or long, straight metal spatula. A variety of simple garnishes or décor can also be applied to the top of the cake. Garnishes and decorations can be added by piping the icing, filling, or glaze (such as a shell border or rosettes), with or without additional garnishes such as chocolate cutouts or shavings, tuiles, florentines, fresh berries or jam, and the like. The side of the cake can be finished using a spatula to a smooth surface, or using a cake comb or other tool to leave a texture or pattern. Garnishes such as toasted chopped nuts, cake crumbs, or chocolate shavings may be applied to the side of a cake by sprinkling or gently pressing to adhere. More intricate cakes are often adorned with piping or other fine décor work.