Makes about 24 tuiles
The name for these delicate stenciled cookies means “tiles” in French. They are traditionally shaped to look like the terra-cotta tiles used on roofs throughout the Mediterranean. The batter is soft enough to spread in a thin layer. You can spread the batter into simple circles freehand, or create special shapes by using a stencil. While you may be able to find stencils in shops or through catalogs that specialize in baking equipment, you can easily make your own by tracing a shape onto a thin but stiff piece of plastic (such as the lid from a yogurt container) or cardboard to produce stars, ovals, hearts, even Christmas trees.
Ingredients
- 4 tablespoons (1/2 stick) unsalted butter, at room temperature
- 1/3 cup sugar
- 1 tablespoon orange zest
- 1/4 cup light corn syrup
- 3 tablespoons all-purpose flour, sifted
- 3/4 cup coarsely ground pecans, walnuts, or almonds
Directions
- Preheat the oven to 350°F. Line cookie sheets with parchment paper or silicone baking mats. Prepare a stencil by cutting a 3-inch round, oval, or other shape out of a piece of stiff cardboard or thin plastic.
- Have an offset spatula as well as shaping implements such as a rolling pin, dowel, or teacups ready to use once the batter is mixed.
- In a stand mixer fitted with the paddle attachment, cream together the butter, sugar, and orange zest on medium speed until light in texture and smooth, 5 minutes. Gradually add the corn syrup, mixing until smooth. Reduce the speed to low and mix in the flour and nuts. Scrape down the bowl as needed during creaming and mixing to blend evenly. Chill the batter for a few minutes.
- Place your stencil on the lined baking sheet. Drop a small amount of batter into the cutout using a spoon. Spread the batter with an offset spatula to evenly fill in the stencil. Pick the stencil up and move it to an empty part of the cookie sheet, repeating as necessary. (It is easiest to shape and bake only a few tuiles at a time. Keep the batter chilled.)
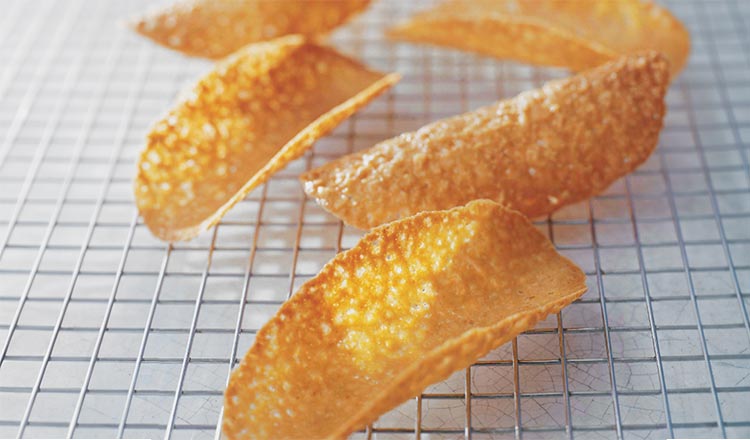
- In small batches, bake until the tuiles are an even light brown color, rotating the pans as necessary to bake evenly, 7 minutes. Remove from the oven and allow to set until the tuiles are firm enough to lift but still pliable and warm, about 1 minute. Drape the tuiles over the rolling pin, dowel, inverted teacups, or other implement to shape, or let them cool flat on a wire rack. Once they are completely cooled, they can be served or stored in an airtight container between layers of waxed paper.