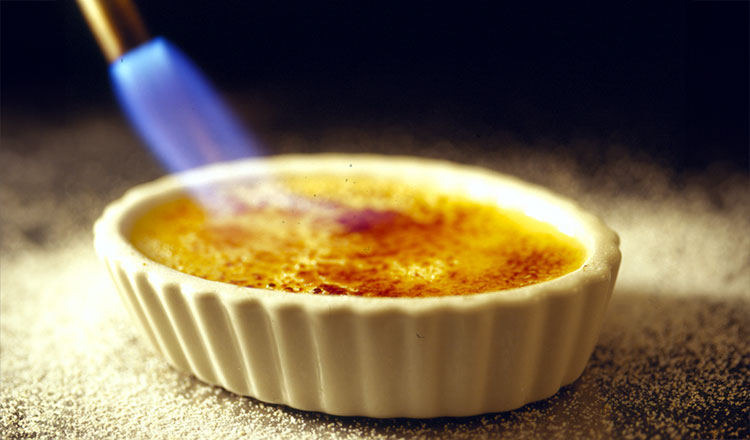
The signature of crème brûlée is a crunchy caramelized sugar topping that cracks open to reveal a creamy custard underneath.
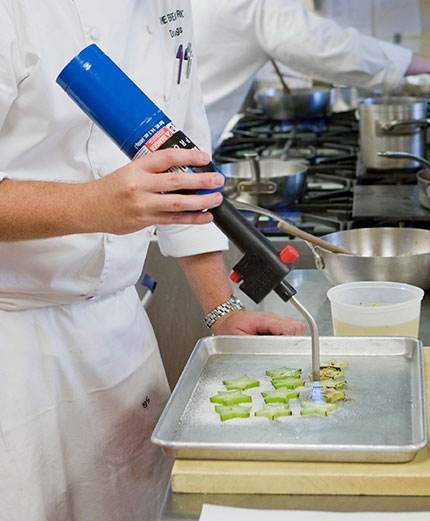
Brûlée refers to the process of “burning” the sugar and is not exclusive to crème brûlée. In theory, anything can be brûléed—even a steak, if you really wanted to! But commonly, it is reserved for desserts and fruit. Late pastry legend and CIA chef instructor Dieter Schorner liked to share his experience preparing Salvador Dalí’s favorite dessert at the Savoy Hotel in London: a brûléed grapefruit. Sugar is sprinkled over a halved grapefruit and then torched to a crisp layer.
Brûléeing is simple, though it can take some time to familiarize yourself with the strength of your kitchen torch. In professional kitchens, you will typically find a large, construction-grade propane torch (you might have one in your garage right now!). These torches are hot with large flames and require a delicate touch—and safety measures.
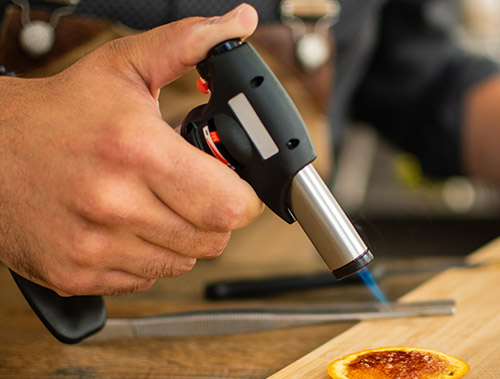
You’ve likely seen torches sold specifically for crème brûlée that are smaller with a lower flame. These are typically powered by butane and refillable, and while they are less powerful than a large torch, they are more than enough to get the job done and carry less risk of burning. Before using a torch for the first time, sprinkle some sugar on a heat-safe baking pan and practice brûléeing. You’ll learn the strength of your torch and the timing of caramelization. As you’ll read below, torches are not essential for crème brûlée, but it is preferable.
There is more than one way to melt and caramelize sugar to a glasslike crust for a cold custard.
- To make an even layer of sugar on a chilled custard, use your fingertips to scatter pinches of sugar over the custard from a height of 4 inches. A few back-and-forth shakes of the custard cup can help even out the sugar. Superfine sugar works very well for a brûlée topping, although regular sugar works fine, too.
- One way to melt the sugar for a crème brûlée is to use a kitchen blowtorch. Move the flame of a blowtorch in a back-and-forth motion over the surface of the crème brûlée 2 to 3 inches above the sugar.
- Alternatively, adjust your broiler rack so that the surface of the crème brûlée will be about 2 inches from the heat. Set the custards in a pan and surround them with crushed ice or ice water before putting the custards under the broiler to brown for 3 to 4 minutes.
Whichever method you use, look for the sugar to melt, then turn light gold and, soon after, a deep, rich brown. Once the sugar begins to color, it will brown very quickly, so be careful not to burn the sugar. Properly caramelized sugar will set into a hard shiny crust that cracks when you tap it with a spoon.
Crème brûlée is an ideal make-ahead dessert, but the brûléeing step should be done as close to serving as possible. Otherwise, the sugar will absorb moisture from the air and become more soggy than crisp and crackly.
To avoid both a soggy top and a time-consuming task just before serving dessert, many chefs will brûlée the custards in two parts. Earlier in the day, you can brûlée a light layer of sugar, and then just before serving, add a second light layer and torch until caramelized.
Remember that you are not only seeking a textural contrast between the soft custard and the crunchy sugar, but also a temperature contrast. The crème brûlée should be chilled before torching so that the heat does not soften and heat the custard.